Using Dell DataSafe Local Backup 2.0
The Dell DataSafe Local Backup 2.0. software is used for Windows 7 by the following model series:
- Dell Inspiron
- Dell Studio
- Dell XPS
If your model isn’t listed above, go to #1 above to see if your computer model is using the DataSafe Local Backup program or not.
These instructions are for creating a recovery disk for Windows 7 using the DataSafe Local Backup 2.0 software.
You may need one or more DVD and your computer must have a DVD burner installed. You can also use a USB flash drive as a recovery media.
Warning:
If you plan to create a system recovery disk to restore your computer’s Dell Factory Image: restoring the factory image will remove all the data from the hard disk. Backup your files before proceeding!
If you plan to create a system recovery disk to restore your computer’s Dell Factory Image: restoring the factory image will remove all the data from the hard disk. Backup your files before proceeding!
- Click on the Start icon
- Click All Programs
- Search for Dell DataSafe Local Backup 2.0
- Click on the Dell DataSafe Local Backup 2.0 software icon
- Click Backup from the list on the left
- Click on Create Recovery Media
- Select Discs if you’d like to have the recovery disk saved on a DVD or select the USB Flash Drive option if you’d like the recovery disk to be saved on a USB.
- Click Next
- Insert the DVD (or USB). The software will notify you how many DVDs you may need to create the recovery media, if you opt for saving to DVDs.
- Click Next
- Wait for the recovery media to be created
- Label the USB or the DVD and keep it safe!
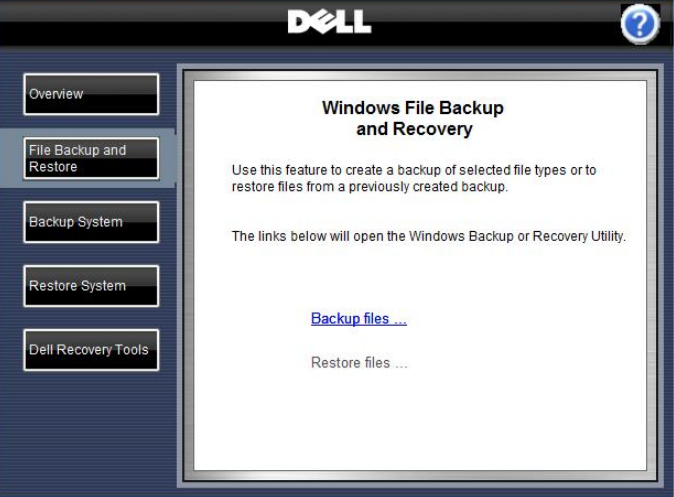
Using Dell Backup and Recovery Manager
The Dell Backup and Recovery Manager software is used for Windows 7 by the following models:
- Dell OptiPlex
- Dell Latitude
- Dell Vostro
- Dell Precision
If your computer model is not listed above, go to #1 above and determine if your Windows 7 is using the Backup and Recovery Manager software.
If your computer is indeed using the Dell Backup and Recovery Manager software, you can follow these instructions.
Warning:
If you plan to create a system recovery disk to restore your computer’s Dell Factory Image: restoring the factory image will remove all the data from the hard disk. Backup your files before proceeding!
If you plan to create a system recovery disk to restore your computer’s Dell Factory Image: restoring the factory image will remove all the data from the hard disk. Backup your files before proceeding!
- Open the Dell Backup and Recovery Manager software
- Click on Dell Recovery Tools menu from the list on the left:
- Click on Create a recovery disk or device…
- Your next screen is called Choose Storage Location
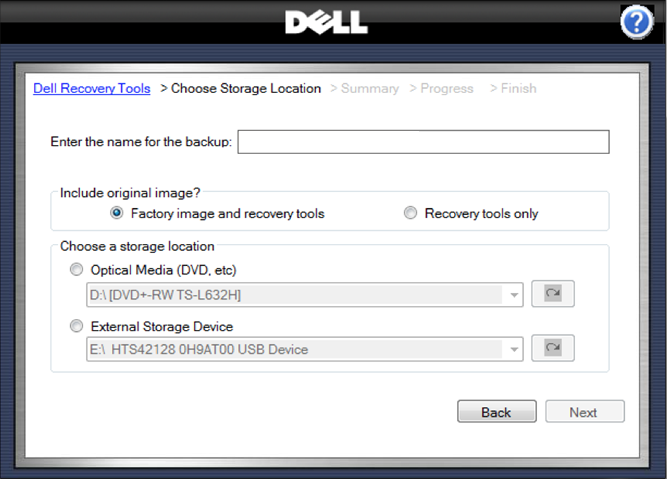
- Here is what you need to add in this screen:
- The name for the recovery media you are about to created. Recommended to leave it unmodified, as suggested by the software.
- Select if you’d like to include the factory image (recommended)
- Where to save the recovery media: Optical Media (CDs, DVDs) or External Storage Device (USB Flash Drives etc.)Use the Refresh arrow on the right to refresh the storage menu list and have the latest available items
- Click Next
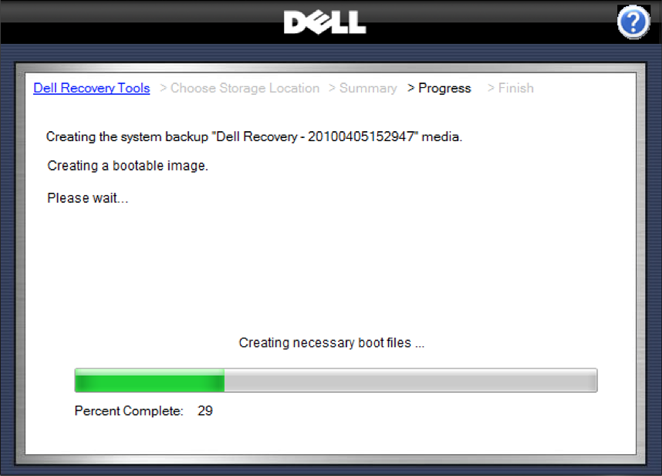
- The Summary screen appears. Confirm your selections before clicking Create Image.
- Click Create Image to create the recovery media
- The Finish screen appears, you can remove your CD/DVD or USB and click on Close Dell Backup and Recovery Manager
- Label your recovery media. Keep it safe!
No comments:
Post a Comment